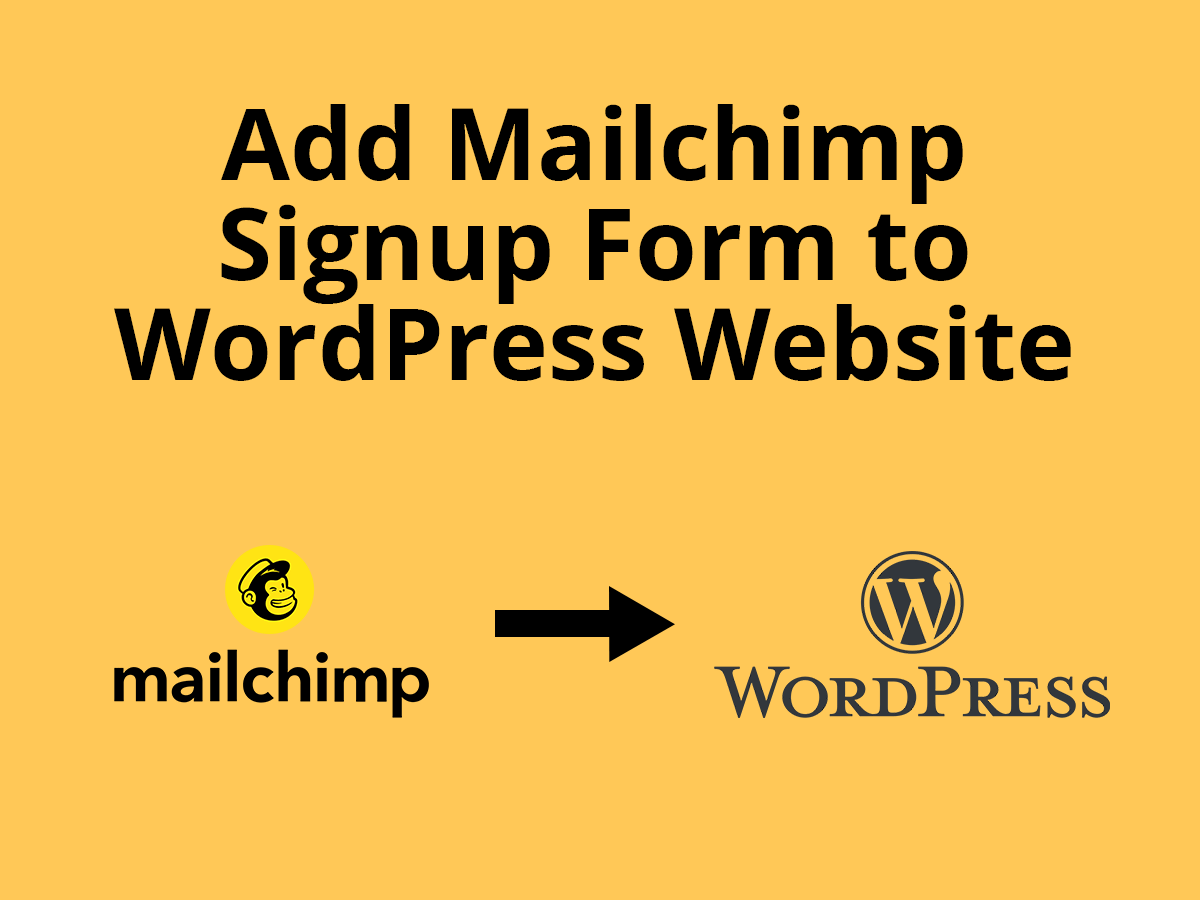
Having a newsletter subscription form on your website is a crucial tool for lead generation. It enhances user engagement with your business and can be a great tool in strengthening the relationship with your users.
Mailchimp is one of the best platforms if you want to add a signup form to your WordPress website. With the free plan, you can have up to 500 contacts and 1000 sends per month.
There are several ways to add a mailchimp signup form to your WordPress website.
In short, there are three basic steps to add Mailchimp in our website.
Firstly, we need to connect Mailchimp with our website using an API Key.
Next, we will create a form inside our WordPress dashboard to capture users emails.
Lastly, we will paste the shortcode wherever we want the form to appear on the website.
Adding MailChimp Signup Form to WordPress Post or Sidebar
Step 1: Login to Your WordPress Dashboard and Navigate to “Plugins” >> “Add New Plugin“.
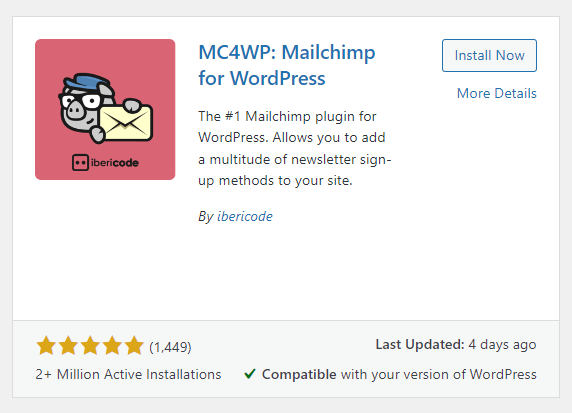
Step 2: In the plugins search bar, type “MC4WP: Mailchimp for WordPress“.
Step 3: Install and Activate “MC4WP: Mailchimp for WordPress” plugin by “ibericode“.
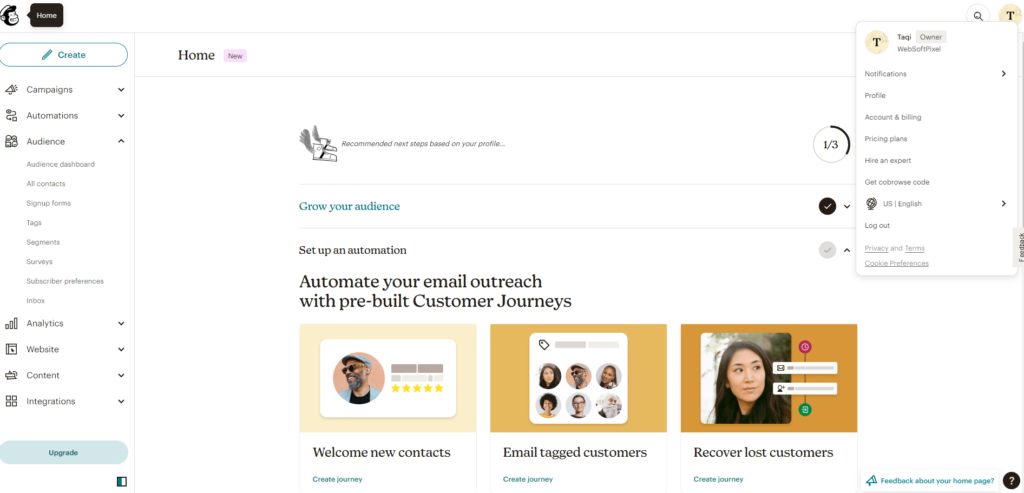
Step 4: In order for our website to work with Mailchimp, we will need to create an API Key inside MailChimp Settings and then save that key in our WordPress website. Go to your MailChimp Dashboard. In the top-right corner of the screen, click on your profile icon and then go to “Account & billing” section.
Step 5: Under the “Extras” tab, click on the “API Keys“.

Step 6: Now Click on the “Create A Key” button to start creating API Key.
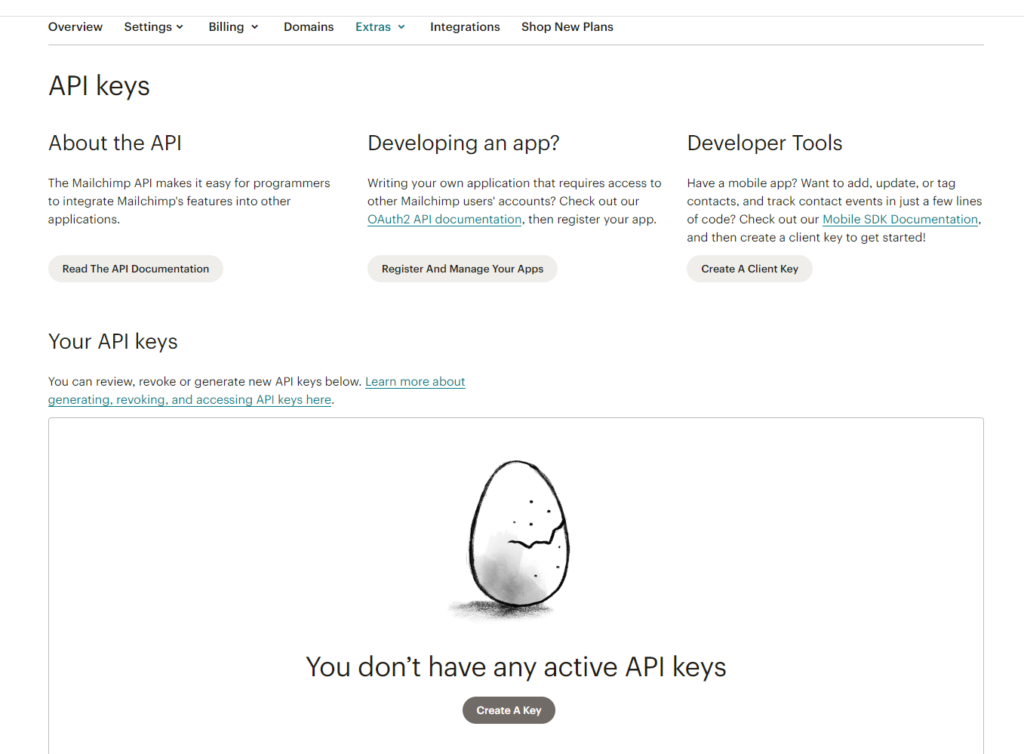
Step 7: Type in a descriptive API Key Name. For example, let’s say, “API Key For example.com“
Step 8: Remember to save your API Key somewhere secure. You will only be able to view this key once now, so either save it somewhere secure or copy it to your WordPress website which we will be doing in the next steps.
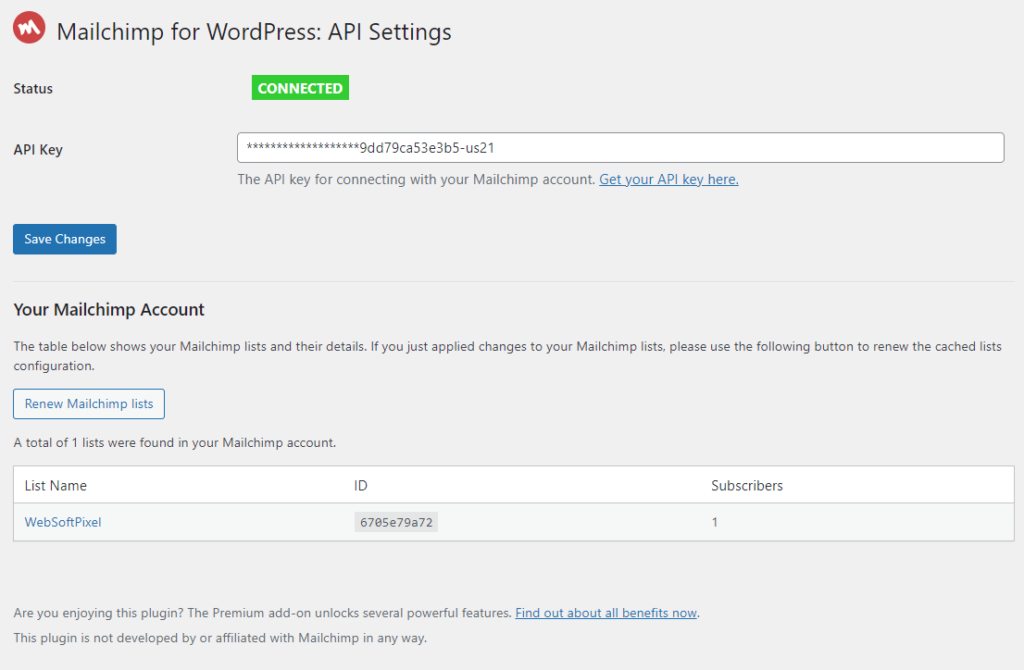
Step 9: Now, our next step is to connect MailChimp to our WordPress website. For that, lets go back to our WordPress dashboard and then go to “MC4WP” >> “Mailchimp“.
Step 10: Now paste the API Key you copied before and click on “Save Changes“. The Status should change from “Not Connected” to the green colored “Connected” text which confirms that our website is now connected to Mailchimp.
Step 11: Now, we will create a form to capture the emails from users and then add that form in our posts, pages or sidebars wherever we want it to show. So, now go to “MC4WP” >> “Form” and add in a name for the form, for example, “Subscription form” and then click on “Add new form“.
Step 12: In our form, we will be using a “Name” and “Email” field to capture user emails. In the “Form code” section, paste the following code and preview the form in the form preview section.
<p>
    <label>Name</label>
    <input type="text" name="FNAME" placeholder="Your Name" required="">
</p>
<p>
	<label>Email Address:
		<input type="email" name="EMAIL" placeholder="Your email address" required />
</label>
</p>

<p>
	<input type="submit" value="Sign up" />
</p>
Step 13: You can modify this code as per your requirements. If you want to change the label for name and email, you can change the text inside the “label” tags. If you want to change the placeholder, you can change the text next to “placeholder” attribute. You will be able to see the preview on the right side as you modify text in the “form code” section. When you are done with the changes, click on “Save Changes” button.
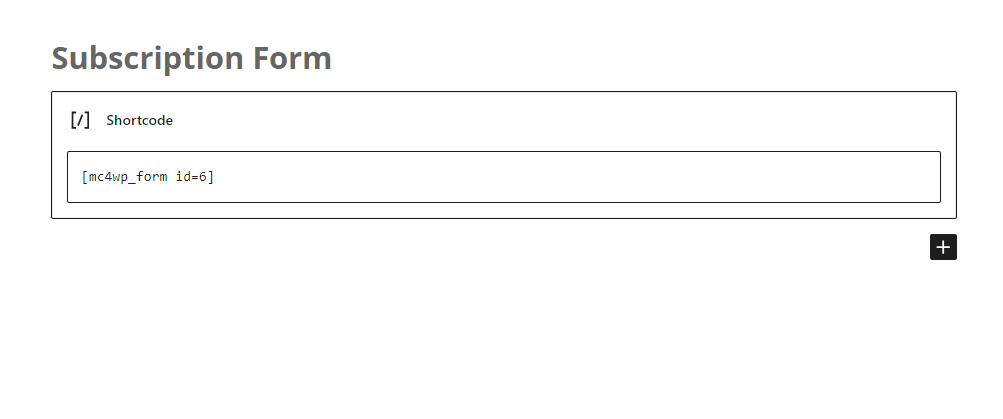
Step 14: Now copy the shortcode for the form from either the top or the bottom of the page. We will be using this shortcode wherver we want our Mailchimp Subscription form to appear on our website.
Step 15: For our example, we are creating a new page for the form by going to “Pages” >> “Add new Page“. But the process is the same if you are going to add it on an existing page or post. Just open the edit screen for the respective post or page and paste in the shortcode and save the page. Refresh the page and your subscription form will start appearing on the website.
After adding the above shortcode on a page, this is how it appeared on our demo website. With some custom CSS, the design of this form can be improved to make it look visually appealing and nice.

And that’s it. The process is simple and with a few steps, you can easily embed a sign up form on your website and grow your email subscriber list.